
Cricut machines can be an awesome ally for those diving into the world of decal design. These handy gadgets allow even newbies to craft stunning decals from the comfort of home. Getting started might seem a bit intimidating, but once you get the hang of it, you’ll see it’s a journey worth taking.
When you’re stepping into the decal game, having the right tools is key. Besides a Cricut machine, make sure you’re stocked up with materials like vinyl, transfer tape, and a trusty weeding tool. Each of these plays a crucial role in bringing your designs to life. Your choice of materials will impact how your decals look and how long they last, so take some time to choose wisely.
Setting up your first project means making some choices. Whether you’ve got your eye on the Cricut Maker or the Cricut Explore Air, each model boasts unique features that could make all the difference for your projects. For instance, consider what materials you’ll be working with the most—this can guide your purchasing decision.
Jumping into design, your imagination is the only limit. There are plenty of resources online where you can find inspiration or even templates to get started. Sites like Pinterest can be goldmines for fresh ideas. Once you’ve picked a design, you can use Cricut Design Space to finesse it to your taste. Checking out free SVG files online might be something worth considering too.
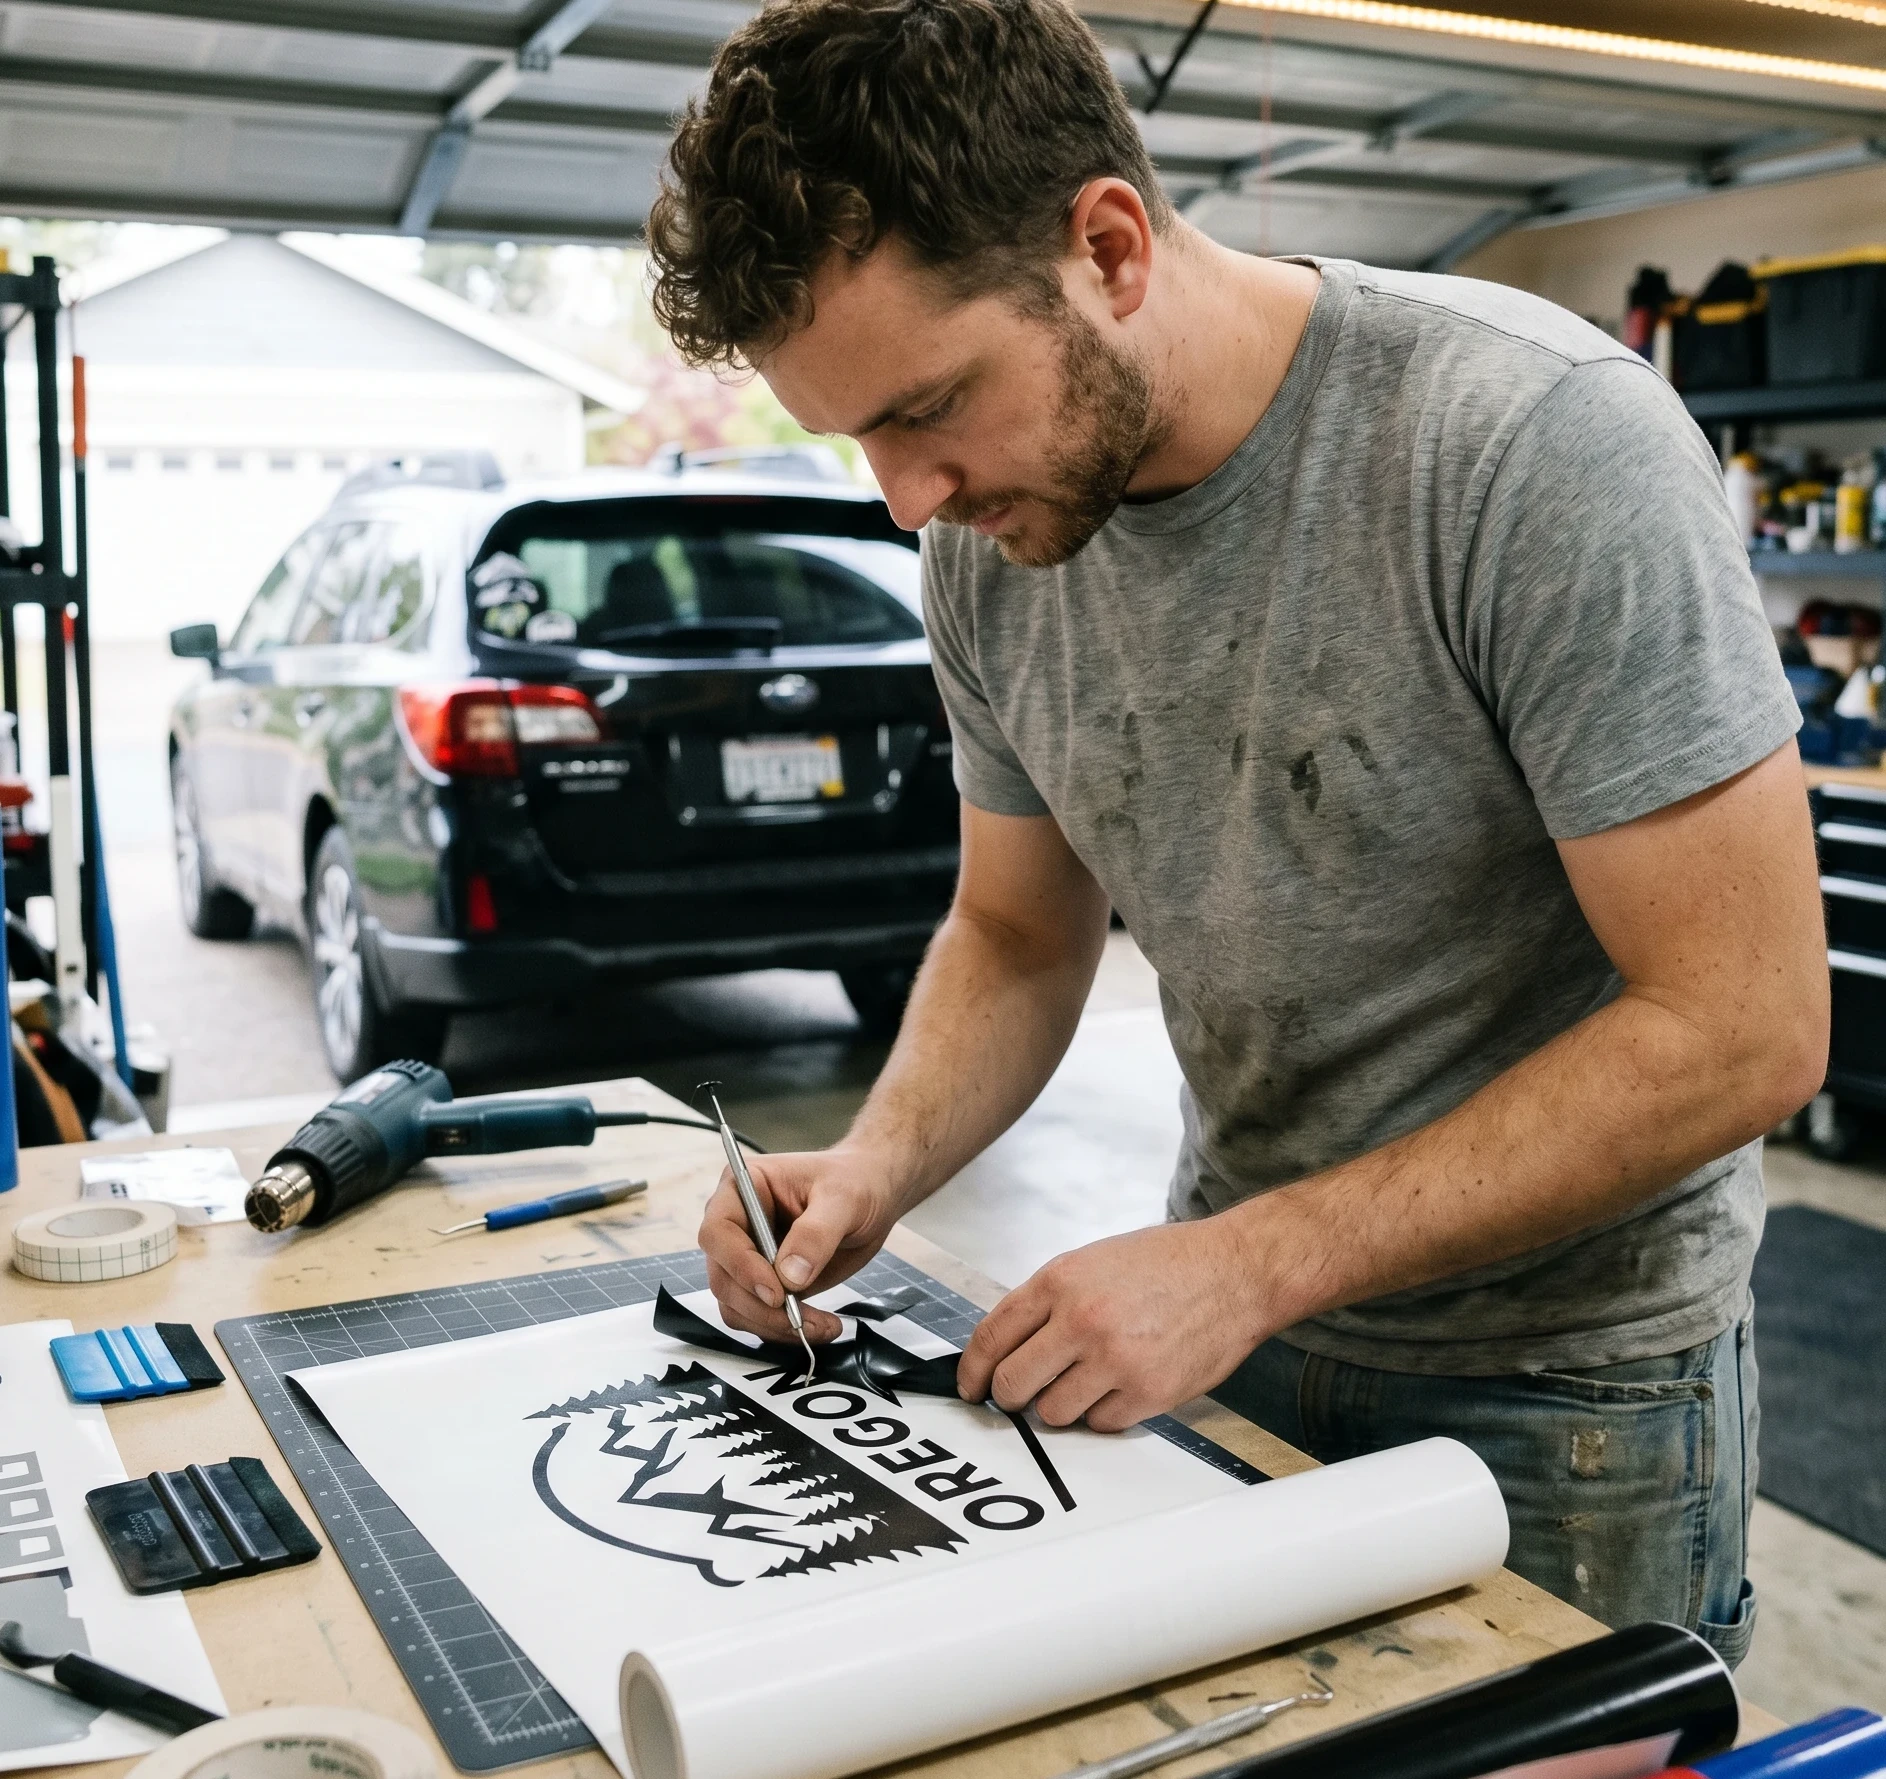
With your design ready, it’s time to bring your decal to life. After cutting your design, you’ll need to weed out the excess material—this step needs a bit of patience but it’ll be worth it when you see that clean design emerging. Then, you’ll use transfer tape to apply your decal onto its final surface, whether that’s your laptop, car, or even a wall.
Taking care of your decals doesn’t stop once they’re stuck in place. Proper maintenance is critical to ensure they hold up over time. Cleaning surfaces before application and being gentle when washing helps make your decal last longer. Steer clear of abrasive cleaners to keep your decals looking fresh.
Avoiding mistakes along the way can save you a ton of fuss later on. Remember to double-check your designs before cutting—this means paying attention to dimensions and orientation. Also, make sure your blade is clean to get sharp, precise cuts.
Everyone might have a hiccup or two when getting started, but don’t let it get you down. Practice makes perfect, and with each project, you’ll get more comfortable using your Cricut. Soon enough, you’ll be creating beautiful decals like a pro!
The hardest part of making decals that I found was making sure the dots and the small items that are on the decal stay on the decal. Now I make sure that the decal has a large enough dot so that it doesn’t get ripped off in the weeding process. I welcome others to let me know what they have noticed in the design process to help others in creating. i also have a light board to lay my decals on so that I can see the cuts better.