If you’re a DIY fan or just curious about creative projects, making custom puzzles with the Cricut Maker opens up all sorts of cool possibilities. The machine’s precision cutting and easy to use design software make it possible to create puzzles with your favorite photos, hand drawn art, or even illustrated designs. With a little setup, you end up with a totally unique puzzle that’s perfect for gifting, game nights, or keeping little ones entertained.
Store bought puzzles are nice, but there’s something extra special about designing and building your own. Whether you want to whip up a quick kid’s puzzle or make something more challenging for adults, the Cricut Maker makes the whole process smooth and enjoyable. I’ll break down my experience and what I’ve learned works best, from templates to materials to easy tips for hassle free puzzle making.
Step 1: Choosing Puzzle Templates for Cricut
Puzzle templates are digital files that guide your Cricut Maker as it cuts out each piece. You can track down free puzzle SVGs online, buy them from digital marketplaces like Etsy, or draw your own if you’re comfortable with design tools like Cricut Design Space or Adobe Illustrator.
Where to Find Reliable Templates:
- FreeSVGDesigns.com and LoveSVG.com have several classic puzzle layouts for personal use.
- Etsy offers a huge selection, from simple kids puzzles to more playful shapes and custom piece counts.
- You can always make your own by drawing interlocking shapes and exporting as SVG in Cricut Design Space.
Tips for Picking a Template:
- Decide how many puzzle pieces you want; smaller piece counts keep things simple.
- Look for templates clearly labeled for Cricut use. These usually come sized properly, saving you time in Design Space.
- For personalized gifts, grab a blank puzzle template and layer a custom photo or illustration underneath.
Having a solid template is important for smooth results. I usually try a few different layouts and see which matches my photo or design best before cutting.
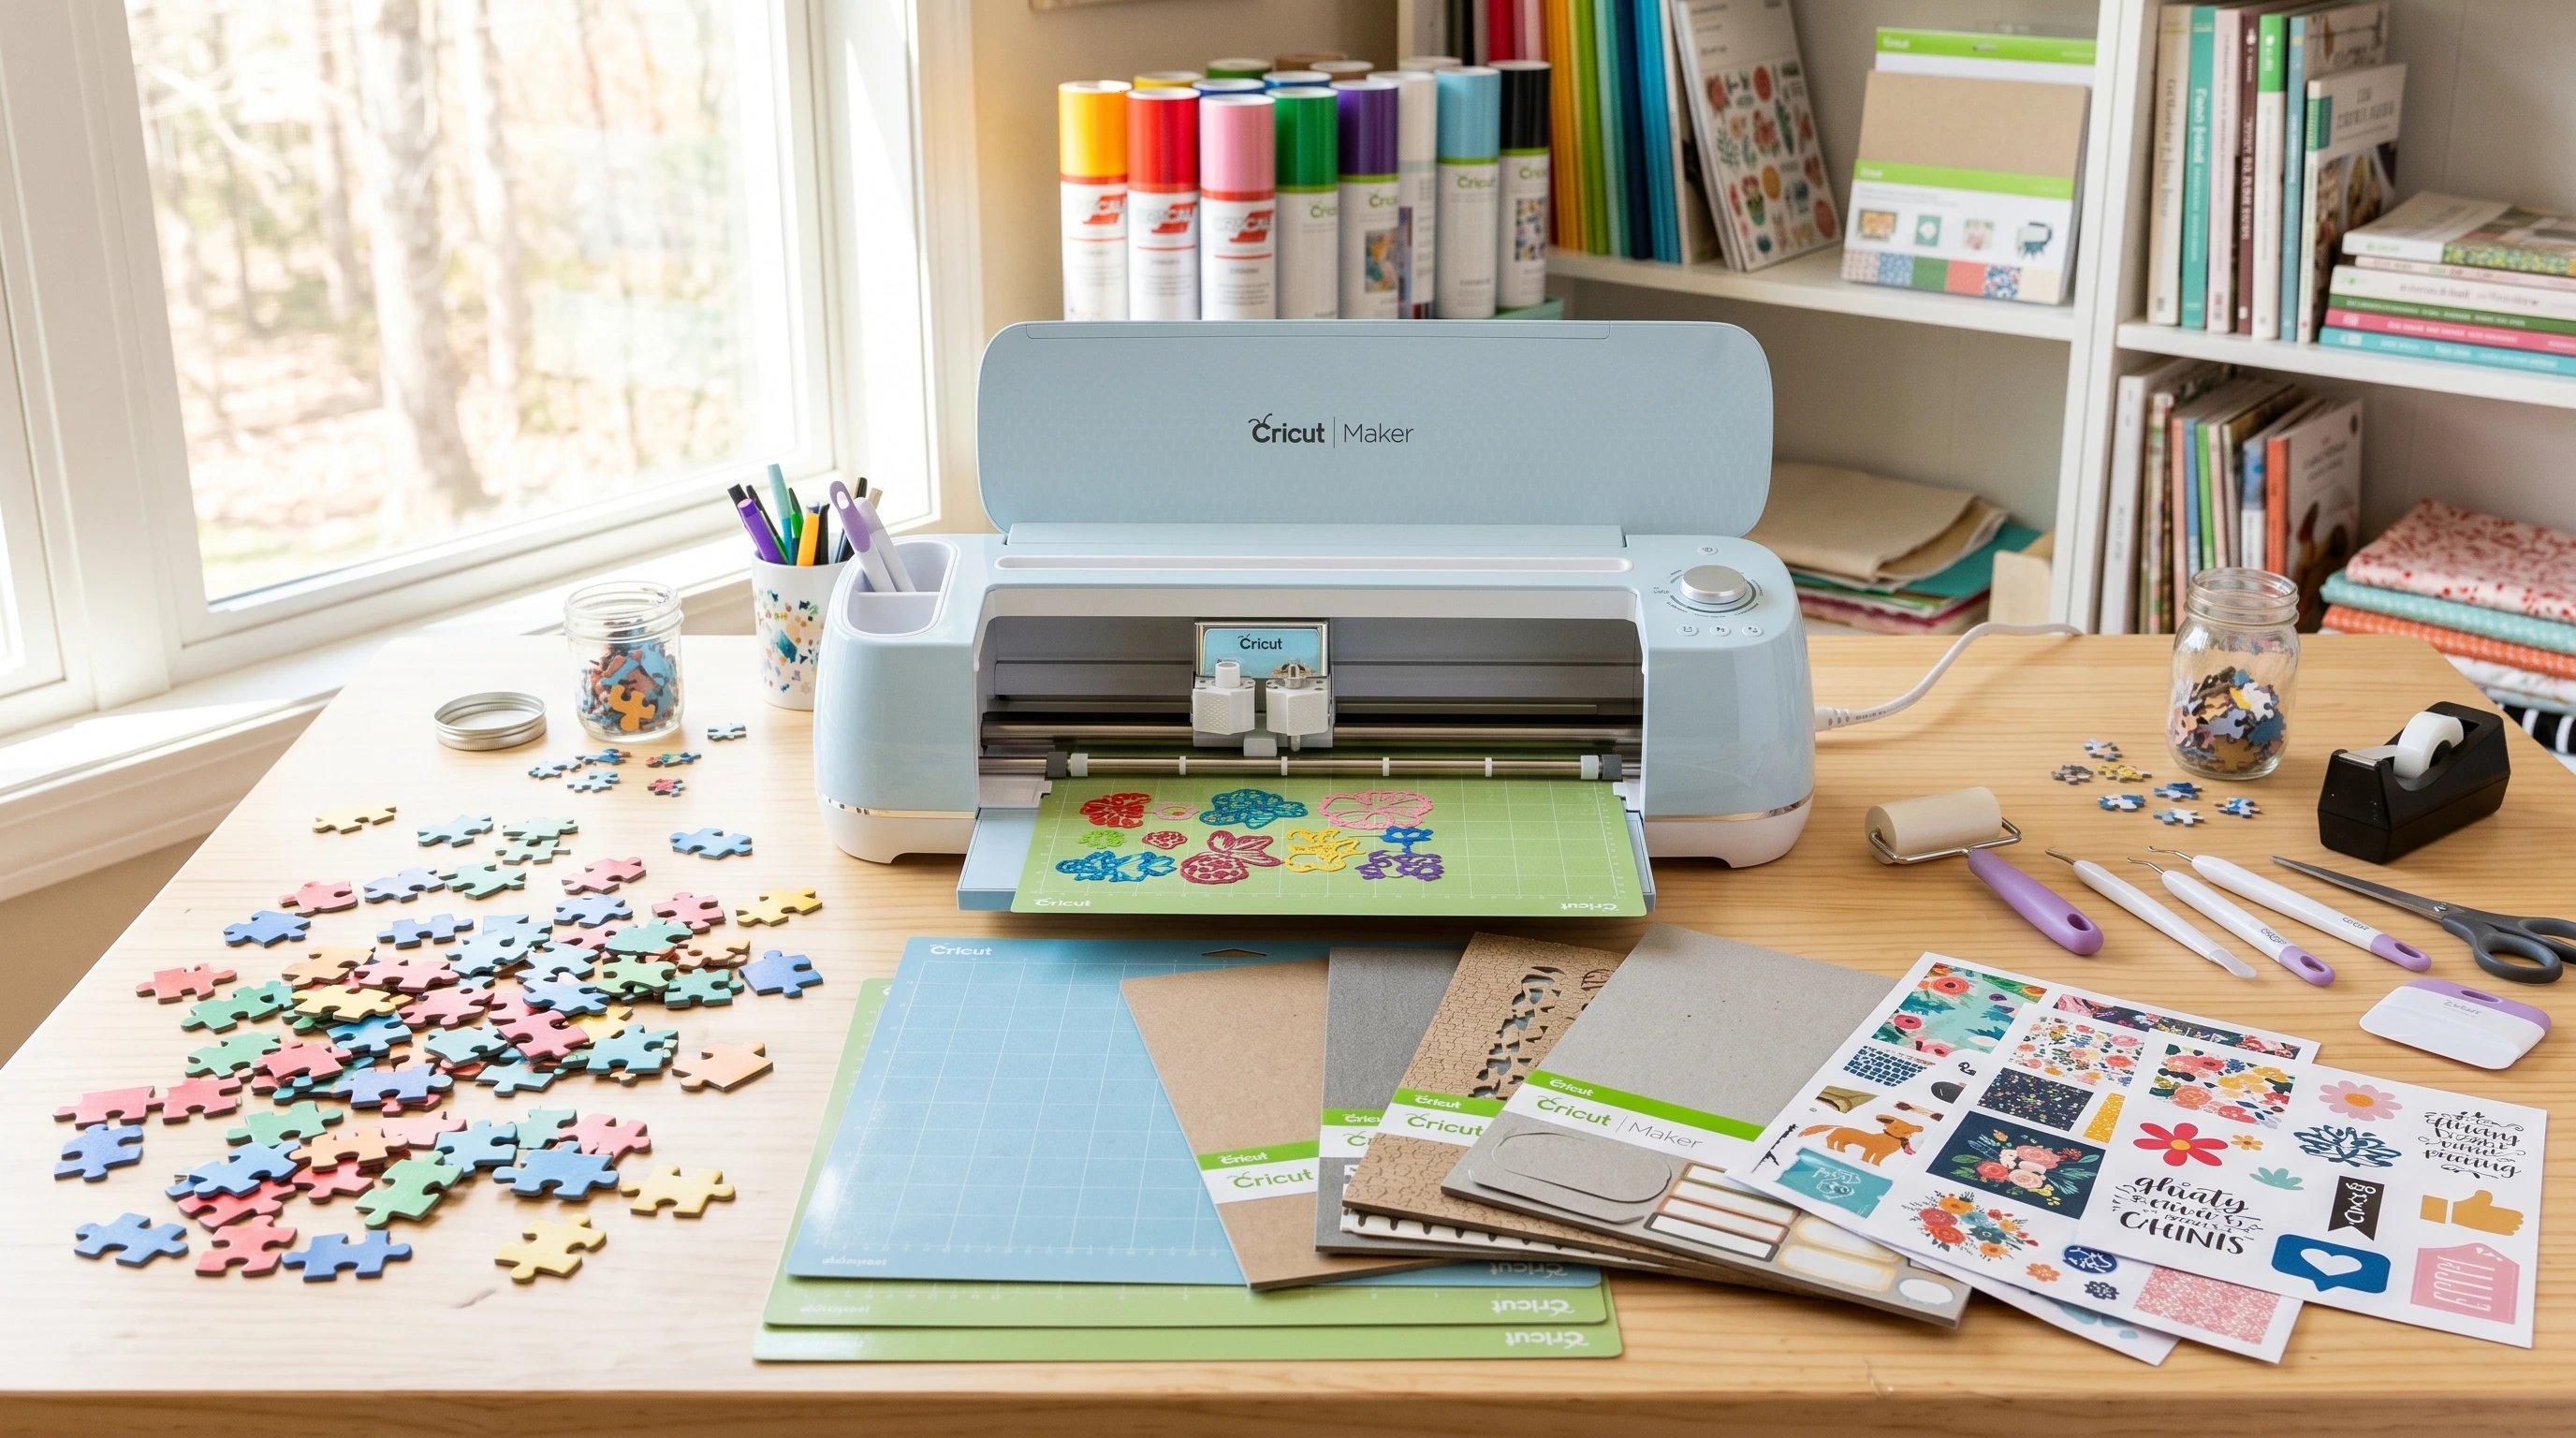
Step 2: Materials & Printing for Your Custom Puzzle
The Cricut Maker is pretty flexible with materials, but for puzzles, sturdy chipboard or heavy duty cardboard work best. Here’s how I get everything ready:
Best Materials for Cricut Puzzles:
- Cricut Chipboard (2mm): This is my top pick for durability and an authentic puzzle feel.
- Kraft board: Easier on the machine and still holds up for smaller puzzles.
- Adhesive backed cardstock: Great for layering graphics if you’re making a puzzle for little kids.
Printing Your Puzzle Image
For custom photo puzzles, start by printing your image on regular photo paper, then attach it to the chipboard using spray adhesive or a glue stick. Using photo quality prints takes your puzzle up a notch with crisp colors and details.
- Pick high resolution images or artwork; blurry pics won’t look great once cut.
- Press the printed image firmly onto the chipboard before letting it dry flat, which helps keep things wrinkle free.
I’ve seen prints bubble or peel by rushing the glue or using inkjet images that weren’t dry, so always give everything time to set up before you start cutting.
Step 3: Setting Up and Cutting with Cricut Maker
Now for the part where the Cricut Maker goes to work. These steps keep the prep simple and effective:
- Open Cricut Design Space and upload your puzzle template (SVG file recommended).
- Resize the template to match your printed and adhered image.
- Place the chipboard with your image face up on a strong grip mat; blue tape around the edges helps prevent shifting.
- Select “Heavy Chipboard” as your material in Design Space for best results.
- Load the fine point or deep point blade, depending on your material. I usually use the deep point blade for thick chipboard.
- Double check your cut settings, then let the machine work! Some projects may need multiple passes, so check after each pass before unloading the mat.
Tips for Better Cuts:
- Be patient. Cutting chipboard can take some time.
- If you see pieces didn’t cut all the way through, keep the mat in place and re run the cut.
- Peel puzzle pieces off the mat carefully to avoid bending the corners.
A clean mat, sharp blade, and good mat adhesion make a big difference in getting crisp, professional looking puzzle pieces.
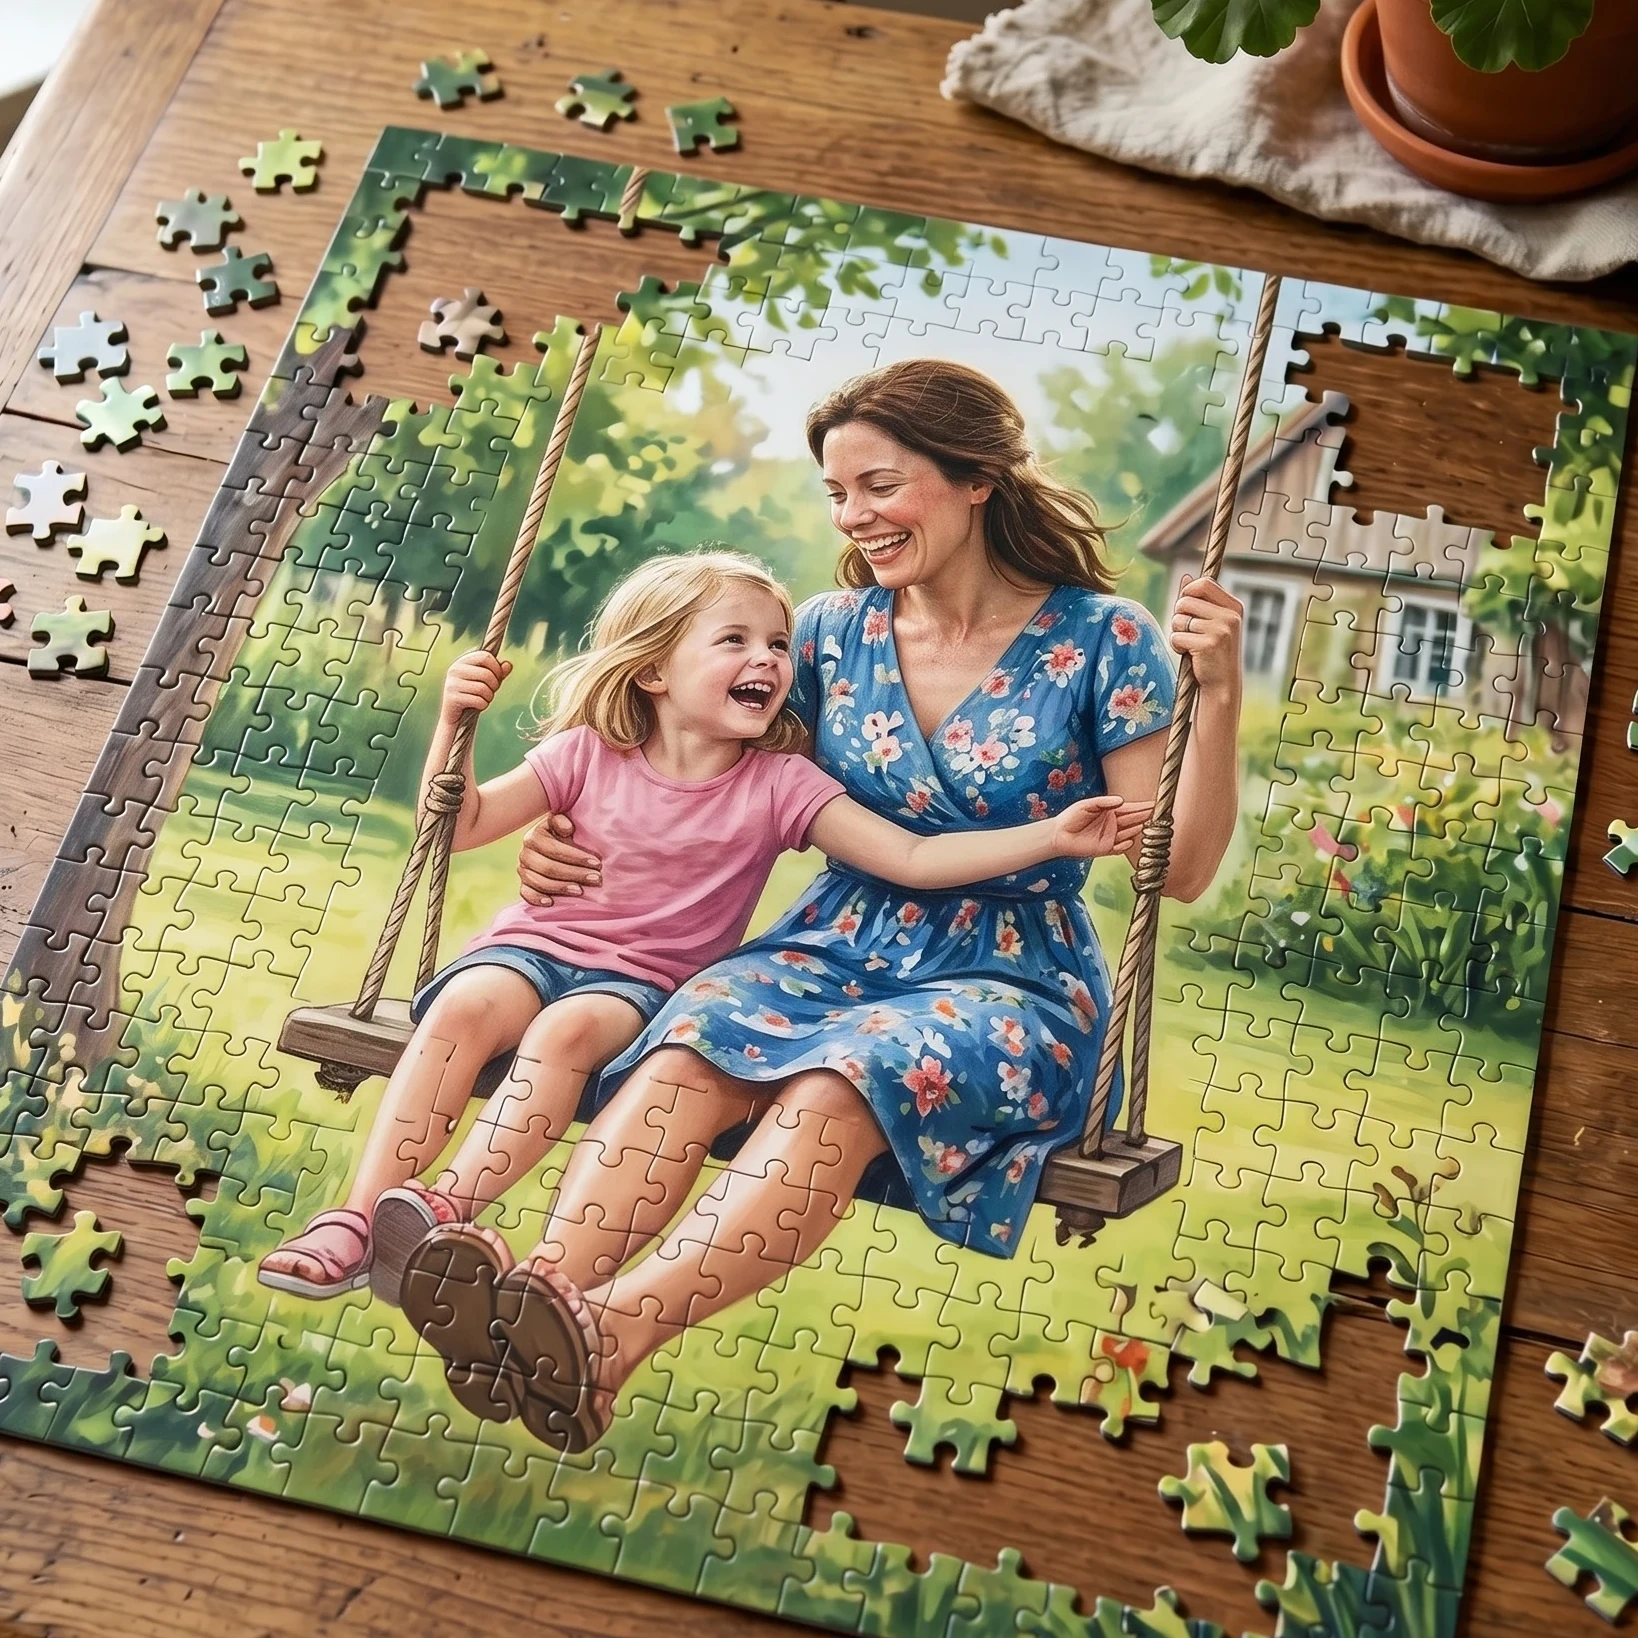
Step 4: Assembling and Finishing Your Puzzle
Once the machine is done, it’s time for the fun part. Pop out the pieces and see how everything fits together. If needed, use a craft knife to clean up any stubborn spots.
Extra Touches Worth Trying:
- Seal your puzzle with clear spray or Mod Podge for extra protection (perfect for gifts).
- Add a custom box or envelope with a printed picture of the puzzle on the front.
- For younger kids, make a set with their names or fun shapes mixed in with classic puzzle pieces.
It’s actually pretty satisfying to see your design broken into little interlocking pieces. It makes the time spent on prep feel totally worth it.
Step 5: Troubleshooting & Tips for Easier Puzzle Making
Common Problems and Simple Fixes:
- If puzzle pieces are hard to remove, your blade may need cleaning or replacing.
- Image peeling after cutting? Better adhesive or sealing the edges with clear glue usually solves it.
- Jagged, rough edges often mean the mat wasn’t sticky enough or the blade is dull.
Working with chipboard and glue can get a little messy. Use wax paper under your work area, and keep baby wipes handy for quick cleanups.
FAQs on Making Puzzles with Cricut Maker
Can Cricut cut wooden puzzles?
The Cricut Maker can handle thin basswood, so basic wooden puzzles are possible if you use the knife blade and make several passes. Go slow and use a strong grip mat for the best outcome.
How many pieces can I make?
The number of pieces is totally your call and depends on your template. It can be anything from 4 to 100 or more, depending on the mat size and how thick your material is. If you want tiny, detailed pieces, stick with thinner materials for smoother cuts.
Can you make twosided puzzles?
You can! Print and glue images on both sides before cutting, but keep in mind chipboard is thick. You may need a stronger blade and extra cut passes for neat results.
Getting Creative: Next Steps with Your Cricut Puzzles
Personalized puzzles are awesome for birthday gifts, wedding announcements, and fun party favors. Go beyond photos—try hand drawn art, favorite quotes, or themed graphics for holidays or special events. Experimenting with color, shapes, and piece sizes keeps things fresh and can add to the fun of crafting. If you need more inspiration or troubleshooting help, Cricut’s official help page and forums are worth checking out. I like browsing YouTube for project ideas and watching how others tackle tricky designs or new materials.
Your Action Steps:
- Find or design a puzzle template that fits your vision.
- Pick your materials and print out your puzzle image.
- Set up your Cricut Maker and start with your first custom puzzle.
Making puzzles with the Cricut Maker becomes addictive fast, and it’s truly rewarding to see your project come together piece by piece. If you’ve got a tip or hit a tricky spot, share it in the comments so everyone can learn together!