 Cricut cutting machines have totally changed the way I approach DIY t-shirt making. With endless creative options right at my fingertips, picking the right design always feels exciting, though it’s sometimes overwhelming, especially when I want my Cricut t-shirts to stand out. Whether I’m crafting shirts for myself, gifting to friends, or making items to sell, choosing the design is the step that brings everything together.
Sometimes I get stuck scrolling through design ideas, worried my design won’t look as good on fabric as it does on my screen. Over time, I’ve learned that focusing on the basics—like style, usability, and meaning—makes the process much easier. With a few simple steps, anyone can narrow down their choices and find the right t-shirt design for their Cricut project. Here’s how I go about it, along with some tips I wish I’d known earlier.
Decide Who the T-Shirt Is For
Before I get into design ideas, I find it really important to think about who will actually wear the shirt. This shapes my choices more than anything else. Crafting for myself means I lean toward colors and themes I love, but making a shirt as a gift or for a customer has me asking different questions.
Questions I Ask Myself
- Is the shirt meant for adults, kids, or a group? Age matters for both the design and the sizing.
- Is there an event or specific reason for the shirt? For example: bachelorette party, family reunion, or birthday.
- What hobbies, interests, or personalities should shine through?
- Are there any inside jokes, sayings, or names to include?
Answering these questions helps me avoid picking a design that’s too generic or obviously not fitting for its intended purpose.
Keeping the intended use in mind not only helps me nail down the right look but also helps make sure the shirt will be well loved and actually worn.
Pick a Design Style That Matches the Mood
The mood of the shirt makes a big difference in how the design comes across. A funny phrase, a minimalist shape, or a bold graphic each sends its own message. Matching the design style to the feeling I want is something I keep in mind from the start.
Popular Design Styles for Cricut T-Shirts
- Minimalist: Simple icons, text, or silhouettes. Great for modern looks or subtle humor.
- Bold Graphics: Large illustrations or set of shapes. These pop on lighter shirts and catch attention.
- Quotes & Sayings: Short messages, jokes, or memorable conversations. These work best with easy to read fonts.
- Patterns: Repeating images like hearts, stars, or flowers. These cover more t-shirt space and can look textured.
- Custom Artwork: Hand drawn pictures, kid’s art, or photos turned into SVG files. These make the shirt feel unique and personal.
Once I know the style I want, it’s easier to track down or sketch the actual design. If I’m ever stuck, browsing t-shirt inspiration sites or social media gives me ideas to adapt.
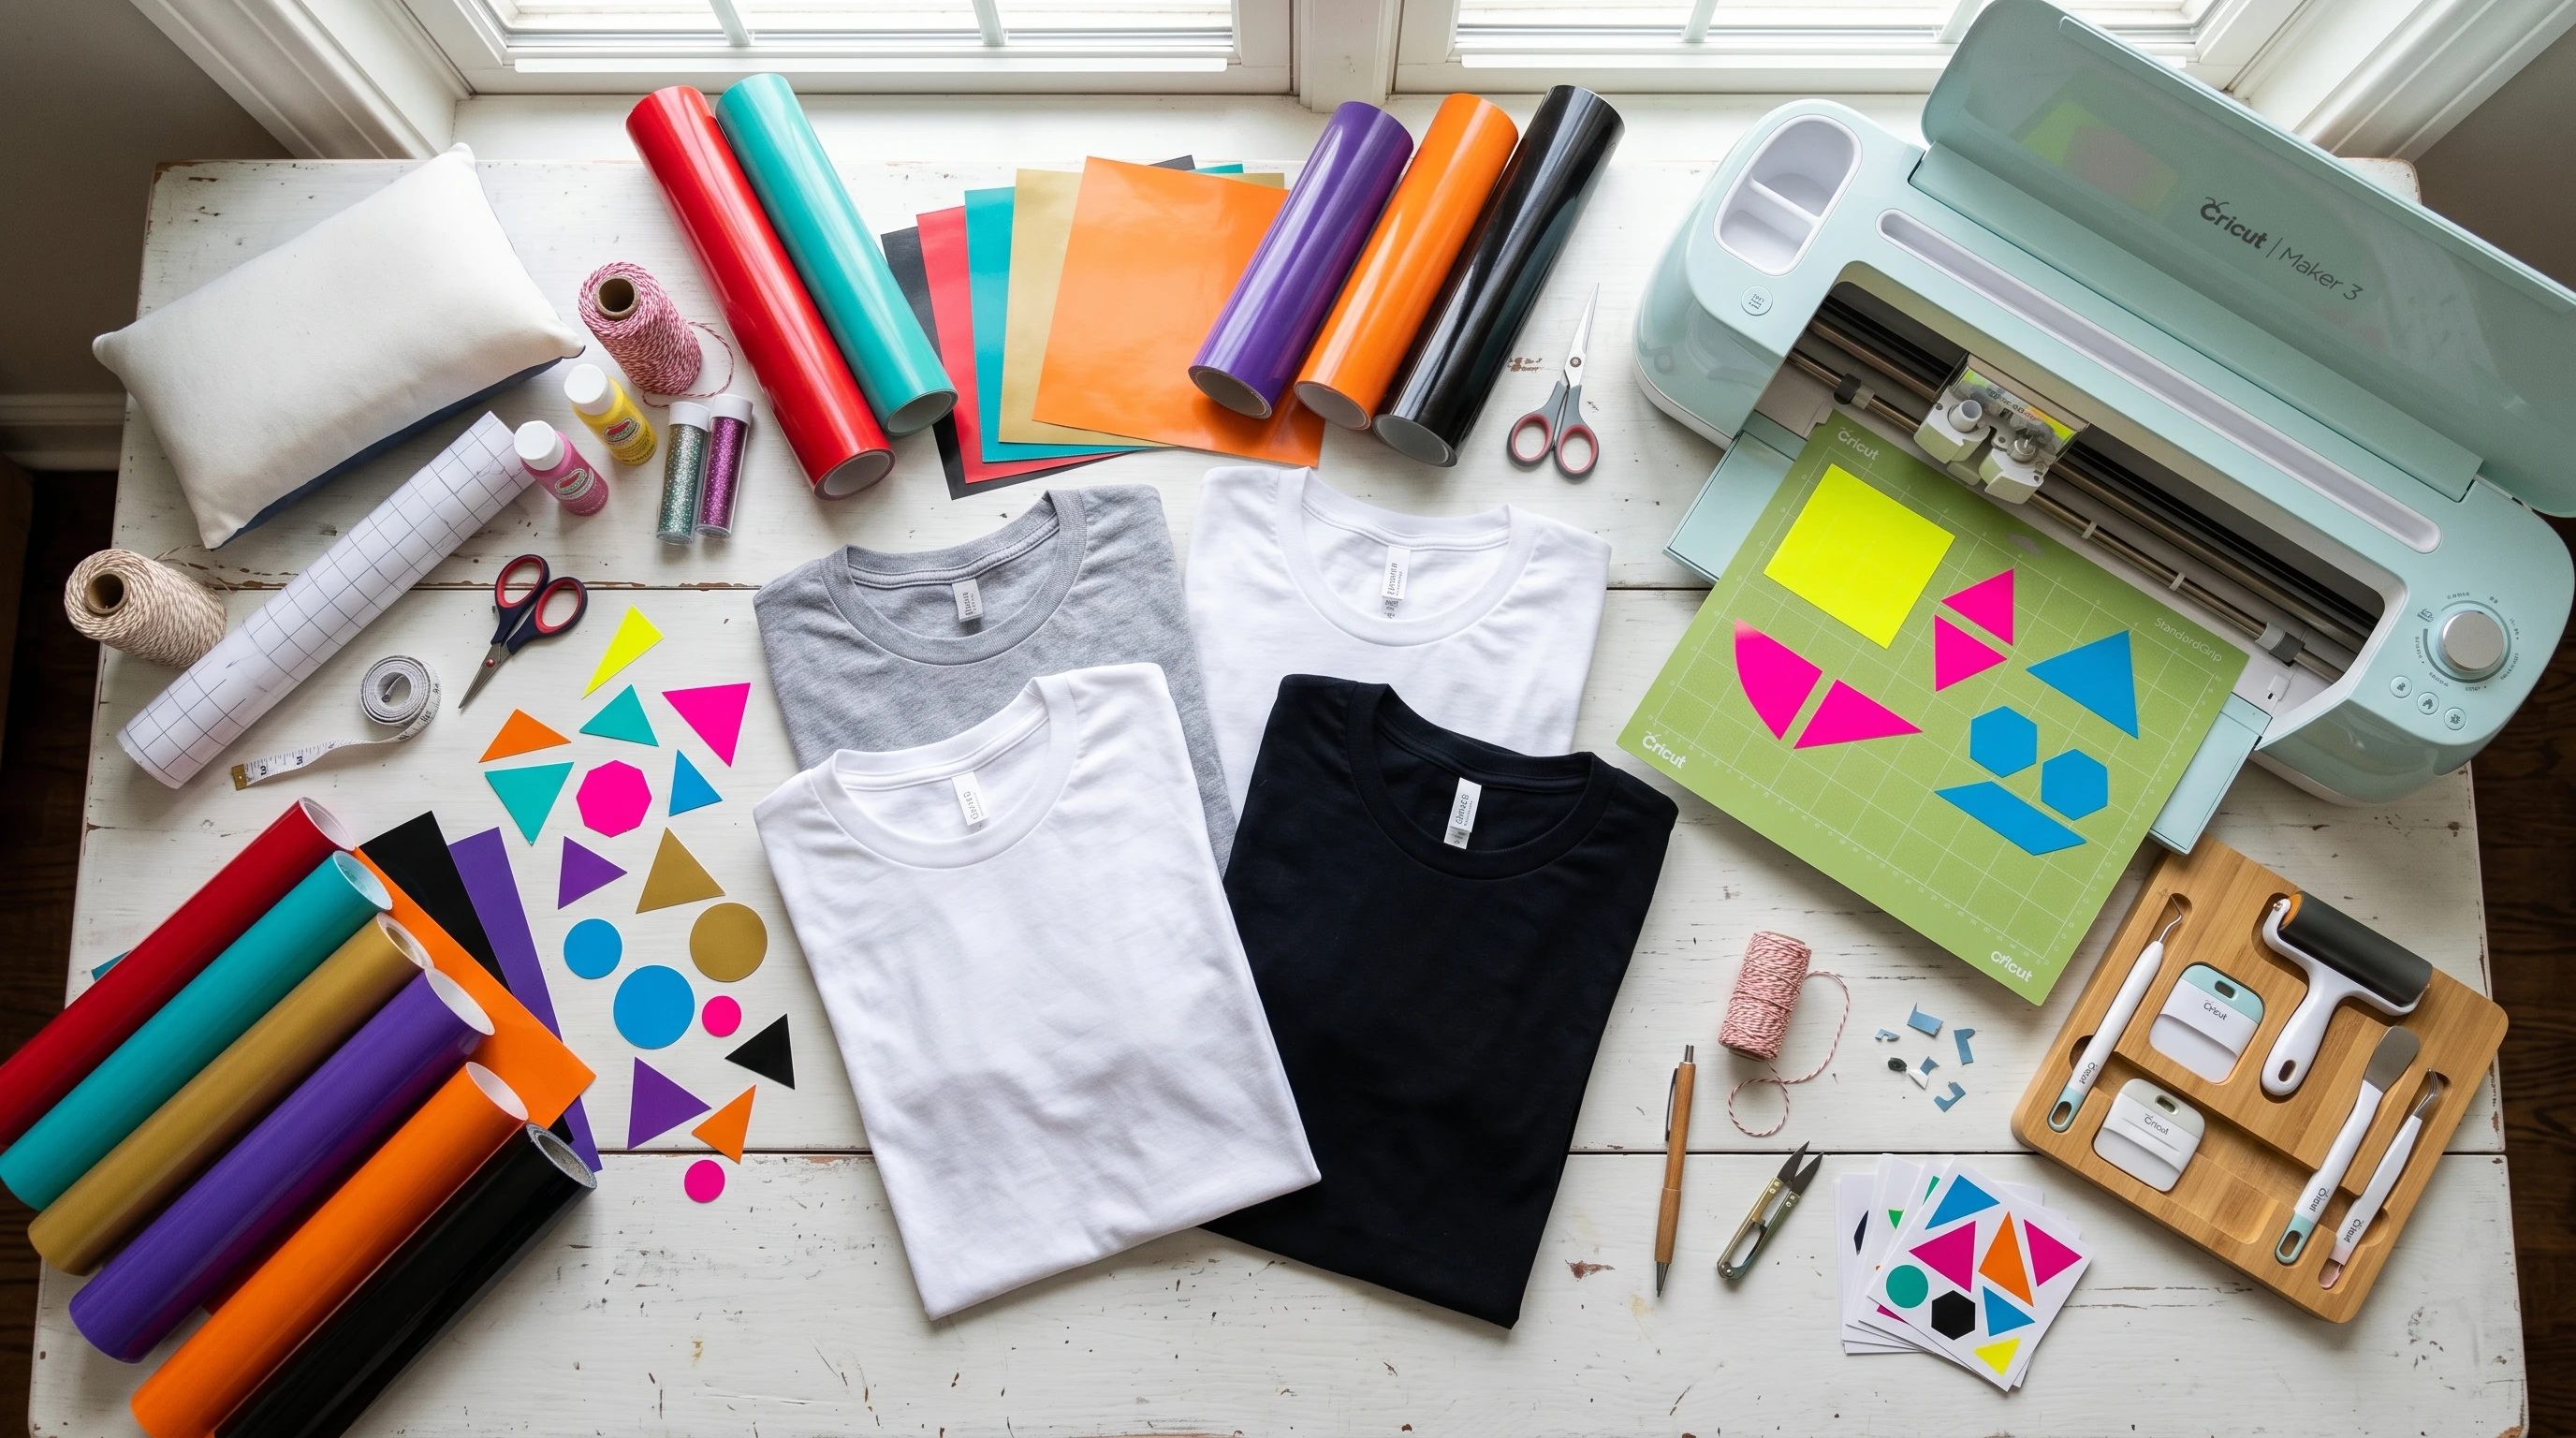
Choose the Right Materials and Colors
Colors and materials change the overall effect of any t-shirt. Some designs need plenty of contrast, while others look best with subtle tones. Cricut machines work with different types of iron on vinyl (also called HTV, which stands for heat transfer vinyl), plus fabric ink if I want a print-only finish.
Tips I Use for Picking Colors
- I hold vinyl sheets over my t-shirt blank before cutting. If it clashes, I swap shades.
- I use two or three colors at most if the shirt is for everyday wear. Too many colors can look busy or distract from the main design.
- For light shirts, I like bold or dark vinyl. For dark shirts, white or metallics stand out best.
- Checking color meanings can help if the shirt is for an event (like pink for breast cancer fundraisers or team colors for local games).
I also make sure the type of vinyl matches my fabric. Stretch vinyl is better for athletic shirts, while standard iron on works for most cotton blends. This avoids cracking and lets the shirt move comfortably.
Keep the Design File Simple and Cricut-Friendly
Not all images or fonts work well with Cricut cutting. I always look for SVG files or higher quality PNGs that don’t have tiny cutouts or lots of thin lines. Simple shapes are easier to weed and apply smoothly to the shirt.
What I Check Before Cutting
- Is the font thick enough to survive weeding and washing?
- Are there any floating dots or holes that will be tough to keep in place?
- Will the design fit the size of the shirt area I want to decorate?
- Could I combine elements to make the cutting process easier?
Cricut Design Space also lets me test resize, mirror, and rearrange my design. For more intricate patterns, I always do a test cut on scrap material before using my good vinyl. That extra step saves a lot of headaches and wasted supplies.
Personalize with Names, Dates, or Custom Touches
Some of my favorite Cricut t-shirts have come from adding a name, nickname, year, or place. Personal touches like these change a basic design into something completely one of a kind. For gifts, I try to ask a few subtle questions to get these details without spoiling the surprise.
- First names, initials, or favorite words
- Special year or event date
- Short message or meaning relevant to the wearer
I often use the text tools in Cricut Design Space for fast tweaks. Mixing font styles—from script for names to block letters for dates—adds even more personality. With all these options, it’s easy to make each shirt truly unique, and the recipient always notices the extra effort.
Make Sure the Shirt Will Actually Be Comfortable
Once I get really into the design phase, I sometimes forget that the main point is for the shirt to be fun and comfortable to wear. Large designs that feel stiff or heavy can ruin the wearing experience. I pay attention to:
- Limiting the overall size of the vinyl area so the shirt breathes
- Making sure no pieces will irritate the skin or run under the armpit
- Using soft touch or stretchier vinyl for athletic and kids’ shirts
I also read reviews on blank t-shirt brands. Some shrink or pill, which can mess up a great design after the first wash. Picking the right blank shirt is as important as nailing the design, so I always try to go for high quality brands and prewash before applying vinyl.
Test and Preview Before Committing
Previewing my design on a photo of a plain shirt (even in Cricut Design Space) shows if the spacing and sizing will look right. Sometimes I’ll cut the design out of paper first and tape it to the shirt for a quick real-world preview. This step has saved me time and mistakes, especially with off center or oversized graphics.
Quick Preview Checklist
- Is the design centered with equal space from collar and sides?
- Will the size fit well on different adult or child sizes?
- Does the design line up with shirt seams, sleeves, or pockets?
Taking a photo of the previewed shirt from different angles helps me spot problems I might miss just staring at the computer screen. Sometimes, a small shift in placement can make a big difference in the finished product.
Common Questions & Troubleshooting Cricut T-Shirt Designs
What if my design is too detailed?
- I try simplifying the image, removing extras, or separating the design into a few main chunks. Thickening lines helps the most.
I can’t settle on a design, what helps?
- I pick my top three ideas, then run quick mockups in Cricut Design Space. Seeing them side by side helps me choose faster.
What Cricut setting should I use?
- I always pick the setting that matches my vinyl brand. Doing a test cut is really important because materials and machines can vary.
Final Tips for Cricut T-Shirt Design Success
Picking the right design for a Cricut t-shirt project can be really fun when I remember these key steps. I start with my audience, choose a matching style, check my materials, and always test before cutting the final design. Adding personal touches always makes for a more meaningful finished shirt.
My Go-To Action Plan
- Decide who will wear the shirt and what message or style they’ll appreciate.
- Pick a design that matches both the shirt color and the wearer’s vibe.
- Preview and adjust in Cricut Design Space, adding names or special words if needed.
- Test cut with scrap materials, then finish up with care for the best results.
Every time I make a shirt this way, I end up with a project I’m really proud of, and I actually look forward to wearing or sharing it. The process is creative, rewarding, and gets easier with every new design!