
 Foil embossing has become a really popular craft technique, thanks in part to the Cricut Maker. I remember when I first saw foil accents on handmade cards and invitations, I wanted to know how to get that look myself, but without expensive equipment. With the right Cricut tools and a little practice, it’s actually easier than it seems to turn everyday paper projects into something that looks professionally finished.
Sometimes it can feel intimidating to try a new project with your Cricut Maker since there are so many different tools available. I’ve found that foil embossing is worth a try if you want to create extra special details that stand out. Whether you’re new to Cricut or just exploring new techniques, I’ll walk you through everything you need to know to get a shiny, embossed finish on your cards, tags, and artwork.
In this practical guide, you’ll learn how to use the Cricut Maker for foil embossing, what materials work well, extra helpful setup tips, troubleshooting advice, and some creative project ideas. My goal is to make this technique simple and fun, so you’ll feel confident starting your own foil projects right away.
The Basics of Foil Embossing with Cricut Maker
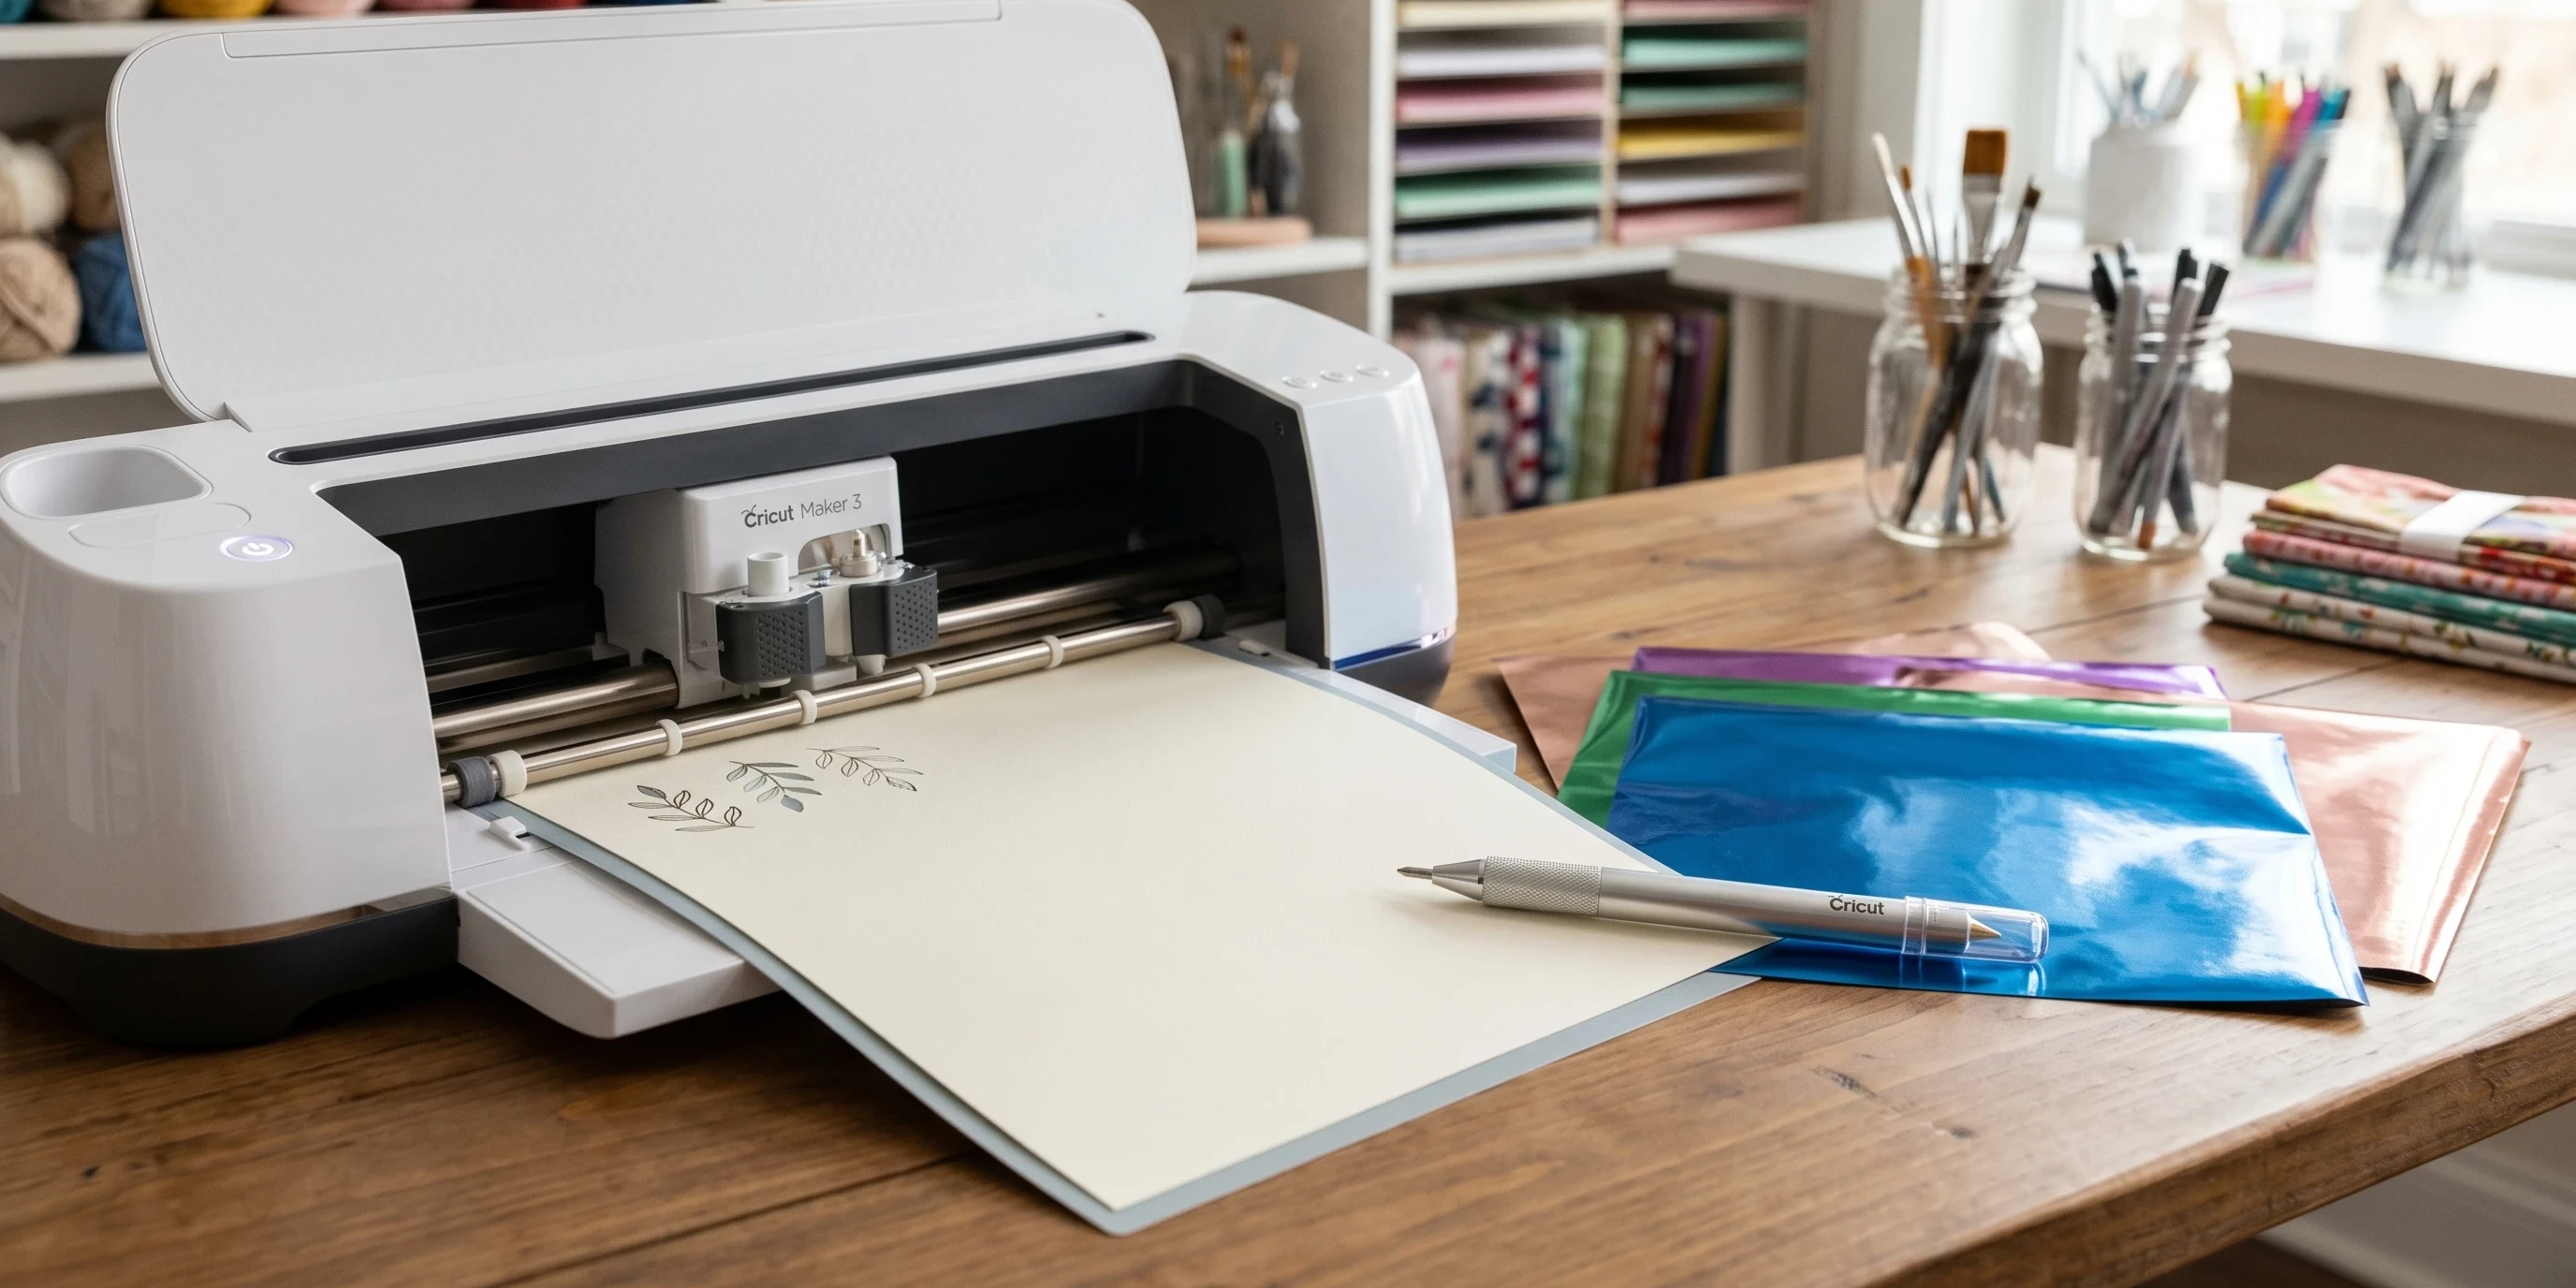
Foil embossing with the Cricut Maker uses special foil transfer sheets and a Cricut Foil Transfer Tool to add metallic accents and designs to your material. Instead of cutting or drawing, the Cricut presses the foil onto the surface in the design you’ve chosen. When you lift the foil sheet, a shiny, textured pattern is left behind that gives your projects next-level cool.
Key Tools and Materials
- Cricut Maker or Maker 3 – The machine that runs the foil embossing tool and handles your designs.
- Cricut Foil Transfer Tool – These attach in place of your pen or blade and comes with fine, medium, or bold tips for different looks.
- Foil Transfer Sheets – Sheets of colored or metallic foil that create the eye-catching finish.
- Tape – Regular low tack tape or Cricut tape strips help hold your foil in place.
- Compatible Mat – Usually a Standard Grip green mat for cardstock or a Light Grip blue mat for lighter materials.
It’s really important to match the right mat and foil type to your project to get clean results. I always keep some extra tape handy for holding the foil, steady so it doesn’t move mid-way through the process.
How the Foil Embossing Process Works
The process for foil embossing with the Cricut Maker happens in a few clear steps. Once you get the hang of it, it’s easy to repeat and experiment with different designs.
Step-by-Step Overview
Prepare Your Design in Design Space – Upload or create your design, and set the lines or shapes you want to be foiled to the “Foil” Line type.
- Place Your Material on the Mat – Attach cardstock, faux leather, or another compatible base material to your mat.
- Apply the Foil Transfer Sheet – Cut a piece of foil slightly bigger than your design area. Tape it flat and tight over where your design will be embossed.
- Insert the Foil Tool in the Clamp – Follow Cricut’s prompts for which tip to use and where to load it.
- Start the Foil Transfer Process – The Cricut Maker will use pressure to “draw” your design with the foil.
- Remove the Foil Sheet – Once finished, peel away the tape and foil sheet to reveal your shiny new design.
I like to lay everything out and check that the foil fully covers the design on the material before starting. Any small gaps can cause patchy details later on, so a little planning helps things turn out great.
Choosing the Right Materials for Foil Embossing
Picking the right base material is really important for a successful foil emboss. If the surface is too rough, slick, or textured, the foil may not stick evenly. Here are some materials I’ve had good results with when using the Cricut Maker:
- Smooth Cardstock (preferably 60–110 lb for best results)
- Printable Vinyl (for custom stickers with foil details)
- Faux Leather (for foiled earrings, keychains, or bookmarks)
- Watercolor Paper (as long as it’s not too textured)
Materials like bumpy handmade paper or glossy photo paper can cause the foil to miss parts of the design. Always test a small section first if you’re using a material you haven’t tried before. Cricut’s official documentation offers more info on materials, and Cricut user forums are goldmines for tips from other crafters who’ve tried something similar.
Top Tips for Clean, Crisp Foil Results
Getting a crisp, shiny finish with your Cricut Maker is all about preparation. A few practical habits really help avoid the most common problems:
- Wipe down your material first to remove any dust. Even tiny fibers can make the foil skip spots.
- Cut the foil sheet a bit larger than your design area, but not much bigger—this helps keep it smooth and secure.
- Tape all four sides of the foil tightly; any slack lets the foil shift and can cause smudges or double lines.
- Double-check that the right tip (fine, medium, or bold) is loaded before you start.
- Use the recommended pressure for your material to avoid tearing or incomplete transfer.
If I ever see that my foil didn’t stick evenly, I know I need to check for dust, static, or foil that isn’t tight enough. Practice really helps, and I find it much easier after a few projects to get great results every time.
Common Problems and How to Fix Them
Foil embossing doesn’t always go perfectly, especially the first time. Here are a few issues I’ve run into, along with some fixes that helped get better results:
Foil Not Sticking Evenly
- Make sure the foil is pulled flat and tightly taped down. Wrinkles mean uneven pressure.
- Double-check that the mat under your material is clean and sticky enough to keep everything stable.
- If the design is too close to the edge, foil may not transfer evenly; move the artwork in a bit for best results.
Foil Smudging or Double Lines
- Check for slack or bumps in the taped foil.
- Avoid pressing down with your hands when removing the foil sheet. Lift it away gently instead of dragging it off.
- Try a lighter pressure setting to see if that fixes the problem.
Material Tears or Indents
- Switch to a lighter pressure in your cut settings, or try a finer tip if the design allows.
- Check that you’re using the correct material setting for smoother application and cleaner results.
When I have trouble, I remind myself that most problems come from setup rather than the tool or material itself. Small adjustments can make a big difference.

Popular Projects You Can Make with Foil Embossing
Once I got comfortable with foil embossing, I started making a variety of craft items. Here are some popular projects that work really well with the Cricut Maker foil tool and look especially impressive:
- Greeting Cards – Monograms, borders, and handwritten-looking accents look expensive with foil details.
- Personalized Gift Tags – Shiny names or holiday messages make simple tags feel custom and fun.
- Bookmarks – Faux leather or heavy cardstock bookmarks look great with metallic art or lettering.
- Party Decor – Make banners, cupcake toppers, or invites with extra sparkle.
- Art Prints and Journals – Add metallic details to handmade artwork or custom notebook covers for that extra personal touch.
With so many foil colors available, it’s fun to try mixing silver, gold, rose gold, or colorful foils on your projects to get just the look you want. You can easily switch things up every time for totally unique results.
Frequently Asked Questions
Can I use other brands of foil with Cricut Foil Transfer Tool?
I’ve found that official Cricut foil usually gives the most reliable results because it’s made to work at Cricut’s pressure and temperature. Other brands might work, but results can vary. Testing on scrap material is always a good idea if you want to try something new or experiment with what you have on hand.
Do I need to use a special mat?
No special mat is required, but the StandardGrip mat is best for most cardstock, while the LightGrip mat works well for lighter paper. Make sure your mat is sticky enough or your material could slip and ruin the foil lines.
How do I know which tip to use?
The Cricut Foil Transfer Tool comes with fine, medium, and bold tips. Fine tips are best for delicate artwork, while bold tips make thicker lines that stand out more. Design Space will prompt you to load the correct tip based on your design, so you’ll always have a heads-up as you set up your project.
Is foil embossing permanent?
On most compatible materials, the foil lasts a long time and won’t rub off easily. For items that get handled a lot, like bookmarks or gift tags, store them flat and avoid scratching for the longest lasting finish possible.
Getting Started with Your First Foil Emboss Project
If you’re interested in getting started, I suggest picking a simple card or tag design for your first try. Focus on a design with neat, clean lines so you can practice taping foil and setting up the tool. Keep backup material nearby in case something doesn’t work out on the first pass. With patience, practice, and the tips I’ve shared here, you’ll soon be adding eye-catching foil designs to all kinds of Cricut projects. Don’t be afraid to jump into different project types—the possibilities are endless!
Quick Start Checklist:
- Choose a compatible design and set it to “Foil” in Design Space.
- Cut your foil and tape it tightly across the material.
- Load the Foil Transfer Tool and make sure it’s set for the right tip.
- Select the best mat and pressure setting for your material.
- Run the foil transfer job and peel away foil to reveal your first embossed project!
Which project do you want to try foil embossing on first? Share your ideas or results, and I’d love to see what you make!