Sublimation mugs are extremely popular for their ability to turn any blank cup into a lasting piece of custom drinkware. I remember the very first mug I made with my Cricut and a mug press sitting on my kitchen counter. At first, I wasn’t quite sure what I needed or what steps to follow, but after plenty of trial, error, and research, I finally got the process down. This guide lays out everything I’ve learned to make crisp, colorful sublimation mugs at home using a Cricut machine.
What You Need for Cricut Mug Sublimation
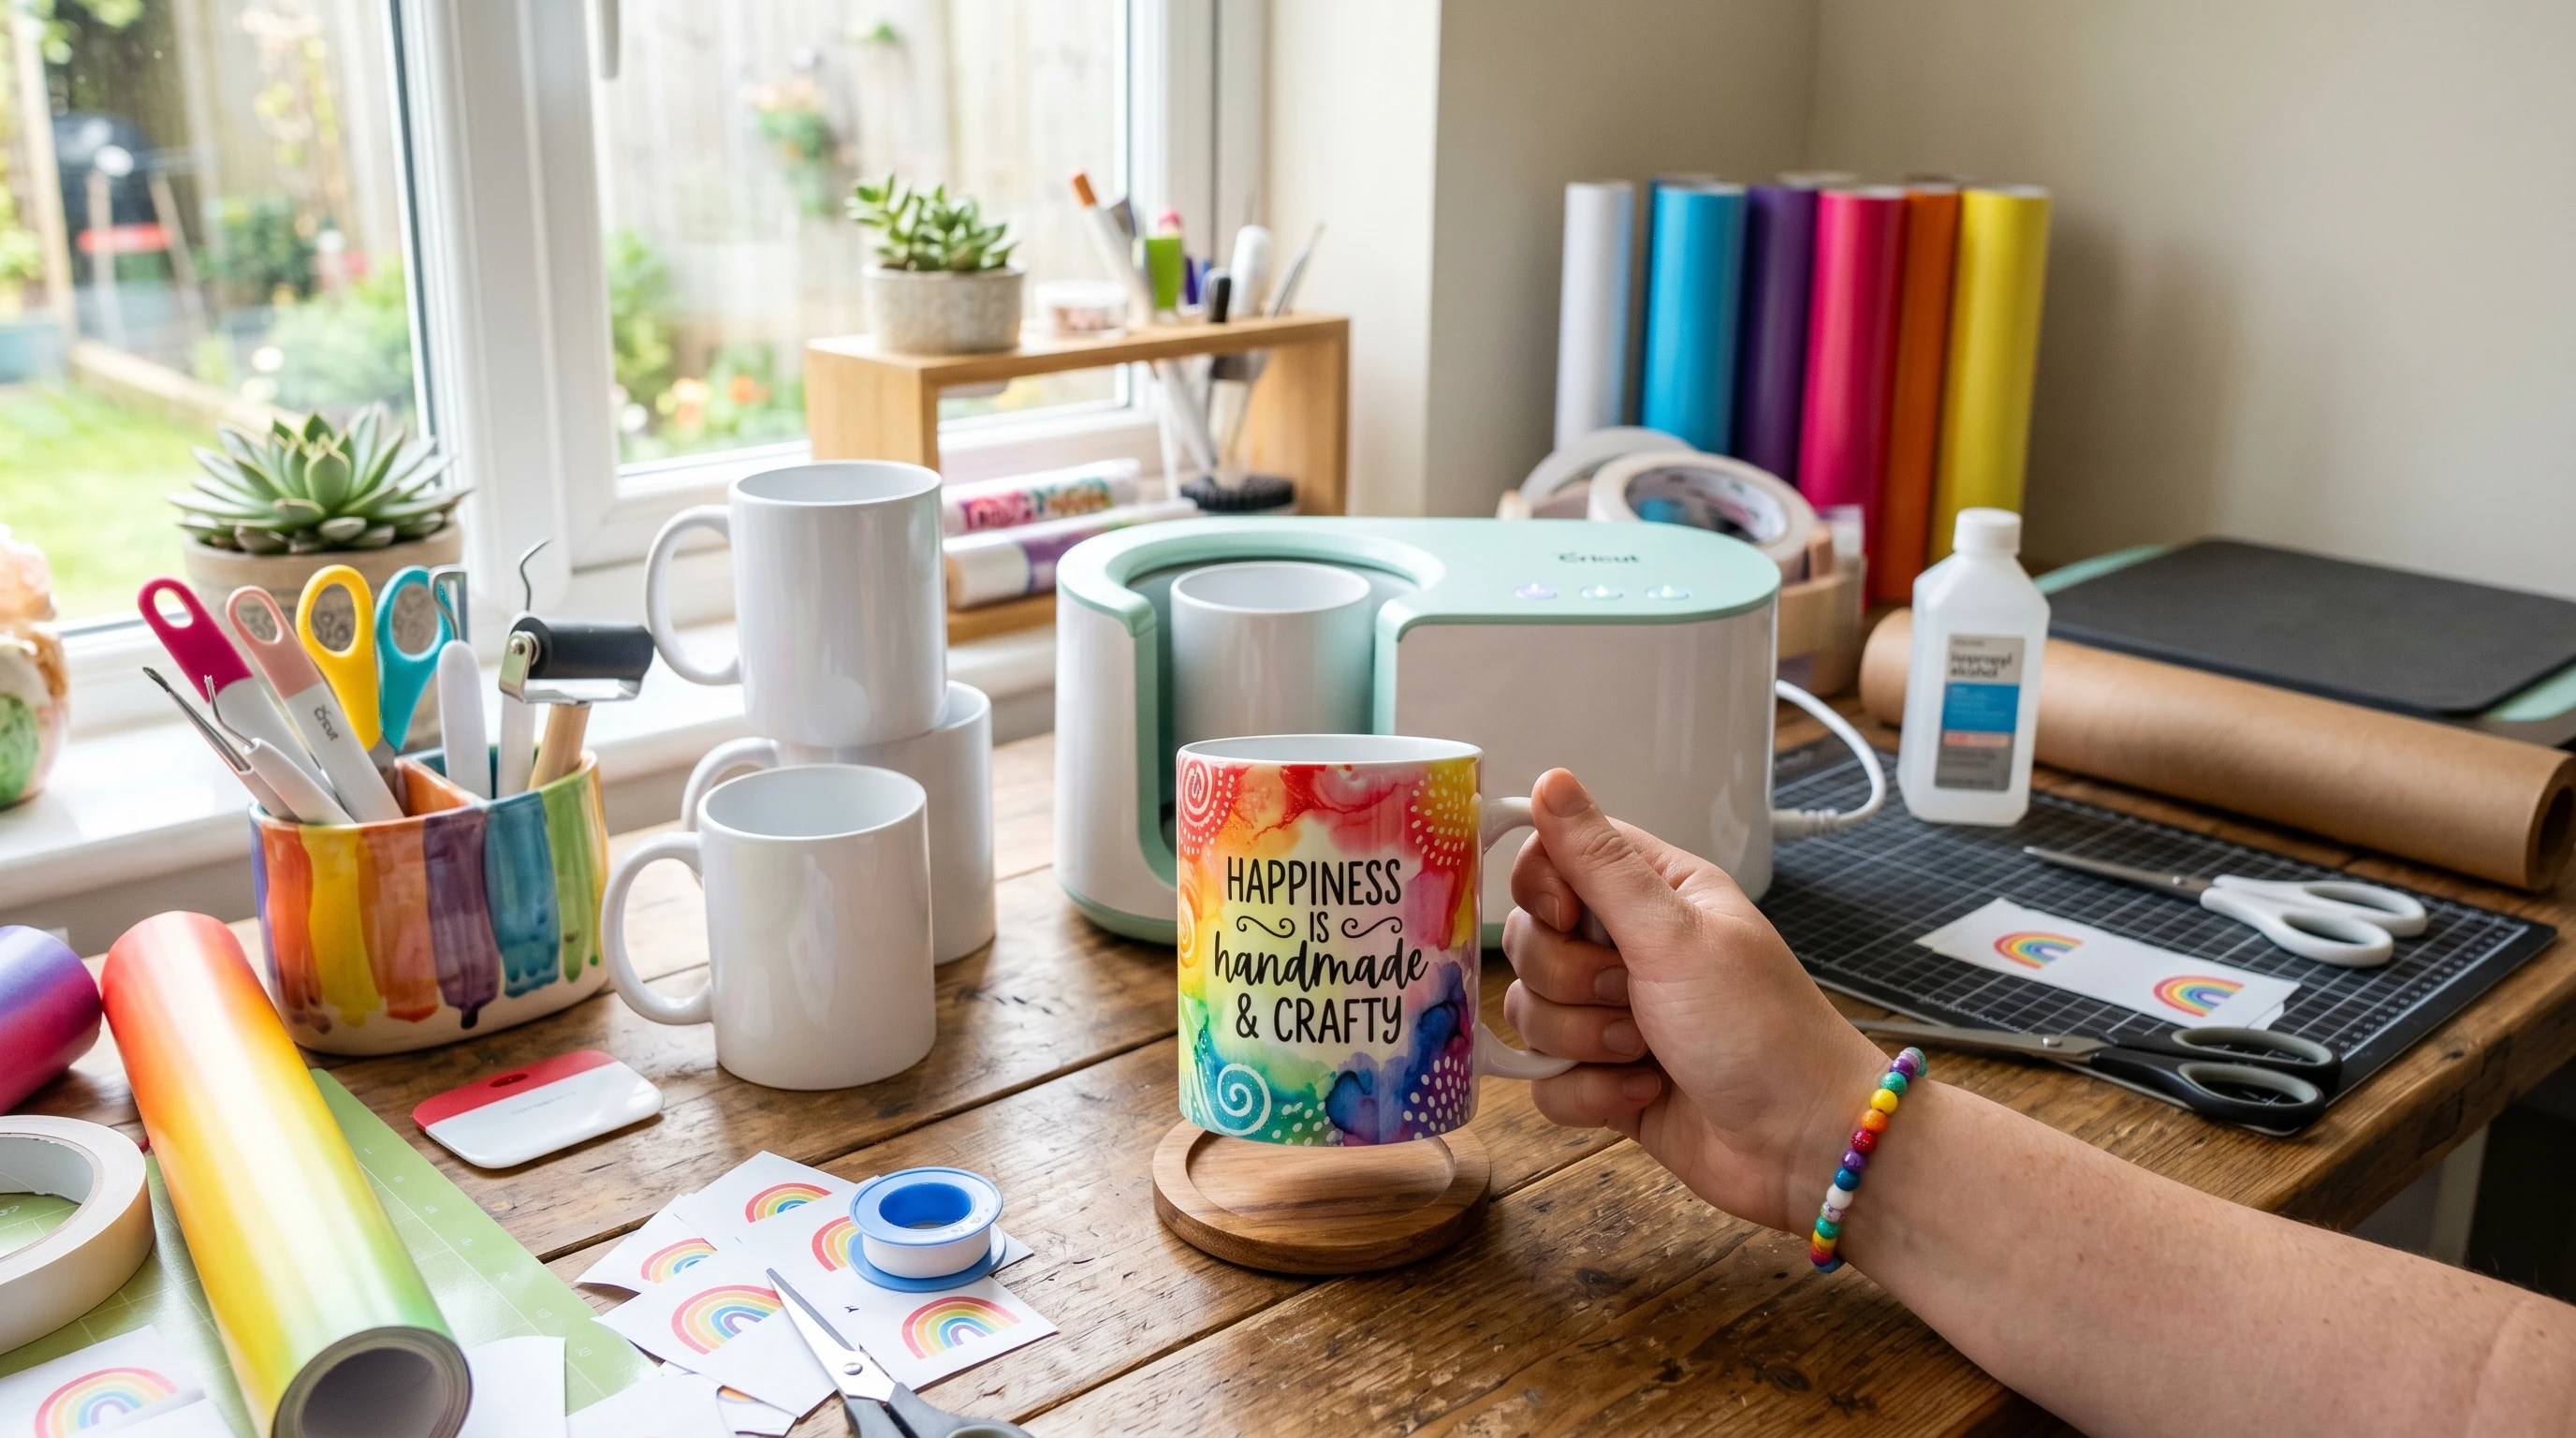
Starting with good supplies is really important. Each item plays a big part in the final look and durability of my mugs. Here are the basic things I always keep on hand:
- Sublimation coated blank mugs: Regular mugs won’t work for this. The coating holds the ink and keeps designs bright after washing. Using the mug press you need a mug that will be without taper so the press can touch all surfaces and sublimate the surface evenly.
- Sublimation printer and sublimation ink: I use a converted Epson EcoTank filled with special sublimation ink. Any inkjet printer won’t work; sublimation ink is needed for this transfer process. I have also used the heat transfer ink that is compatible with Cricut Maker. I really enjoyed the markers that you can use in the Cricut. Infusible ink Markers can be inserted in the Cricut Maker and used to draw designs on regular paper that will transfer to mugs.
- Sublimation paper: This paper lets the printer apply the design and releases the ink cleanly onto the mug when heated, resulting in a vivid, professional finish.
- Heat resistant tape: This tape holds my transfer paper in place and doesn’t leave sticky marks behind, even after high temperatures.
- Cricut Mug Press or similar mug heat press: Reliable temperature and timing are super important for sharp results. Some crafters also use a convection oven or air fryer, but presses are easier and safer to start with.
- Heat resistant gloves: Mugs come out extremely hot, so I always grab a pair of these gloves before I touch anything out of the press.
- Design software: I’ve used Canva, Photopea, and Photoshop for creating and sizing my mug art. Cricut Design Space is also really helpful for prepping everything to cut or print the design to the perfect size.
Getting Started: Understanding Why Each Material Matters
I quickly learned that each part of the process matters for the mug’s final look. Sublimation only works with blank mugs with a polycoating. That coating reacts with the ink when heated, bonding the image permanently and making the mug dishwasher-safe. Cheap or noncoated mugs result in blurry or washed out designs. I sometimes see beginners try to use regular ceramic mugs and end up disappointed because the transfer never sticks properly.
Using the right sublimation printer and paper is important for sharp images and bright colors. Generic ink or regular paper tends to smear or fade. When choosing a mug press, I looked for one with simple controls, and the Cricut Mug Press became my go-to for ease of use and even heating. The right safety gear, like heat resistant gloves, really protects my hands, especially during early attempts when I tried to rush the process.
Step-by-Step: Making Your First Sublimation Mug
After several rounds of trial and error, I settled on this workflow. Each step builds on the last, and skipping around tends to cause mistakes.
- Design your artwork: I start by measuring the area I’ll cover on the mug, usually about 8.75″ x 3.8″ for standard 11oz mugs. Using Canva or Photoshop, I set up a canvas with these dimensions. I add text, photos, or artwork, remembering to mirror the design before printing so it reads correctly after transfer.
- Print on sublimation paper: I always check my printer settings, selecting the correct paper type and the highest quality setting. I load the sublimation paper, print the image (mirrored), and let the sheet completely dry before handling.
- Trim and prep the transfer: Using scissors or a paper trimmer, I cut away any white edges to give a clean look and avoid accidental ink marks on the mug.
- Affix transfer to mug: After cleaning the blank mug with a lint free cloth, I carefully wrap the design around the mug, tightly aligning the edges. I use heat resistant tape to hold everything flat and keep out air pockets.
- Heat press: With the mug secured in the press, I follow the instructions for time (about 5-6 minutes) and let the machine do its thing. My Cricut Mug Press automatically times and heats up, but other presses may need manual settings.
- Cool and reveal: When the press is done, I remove the mug carefully with heat gloves and let it cool for 15-20 minutes. Only after it’s pretty cool to touch do I peel away the paper and tape to show the design underneath.
Helpful Tips for Flawless Mugs
I faced a few common challenges when I started, but small fixes made a big difference:
- Check mirror settings every time: Forgetting to mirror the image means text and designs transfer backward. It’s an easy mistake, so I double check before printing.
- Lint roll your mug beforehand: Small dust or lint bits show up as white spots after pressing. Running a lint roller or alcohol wipe on the surface helps prevent these marks and keeps your mugs looking crisp.
- Don’t overuse tape: Using too much tape can create yellow marks as the adhesive overheats. I stick to taping only the edges and corners for the best results.
- Even pressure matters: Designs come out faded or patchy if the transfer isn’t pressed tightly and evenly. I firmly wrap and tape the paper to avoid this.
- Let mugs cool before removing tape and paper: Pulling the paper off while the mug is hot can leave ghosted or smudged results, so I always allow plenty of cooling time.
Common Problems and How to Solve Them
- Ghosting or blurry images: Usually comes from shifting the paper or mug while still hot. I avoid touching anything until the mug is cool to keep the image sharp.
- Uneven color or weak images: Could be from low quality sublimation ink, old paper, or short pressing time. I use fresh supplies and stick with recommended press times for my equipment and mug size.
- Yellow marks where tape was applied: Using high heat tape in small amounts and only on the edge helps reduce this. Regular tape will burn, so I never use it as a substitute.
- Design doesn’t fully transfer: Double checking temperature consistency in the press and keeping the design flush to the mug stops this from happening. Testing with a spare blank mug can help find the right settings for your press model.
Sizing Designs for Different Mug Types
I always measure any new brand or size of blank before starting. Standard 11oz mugs usually fit a transfer sized 8.75″ x 3.5″, but 15oz mugs are bigger, and tapered mugs need the design shaped slightly differently. I use Cricut Design Space’s template feature to preview the fit and avoid awkward cropping or stretching. If your mug has a lip or unusual handle, add a bit of extra border to keep the art from wrapping unevenly.
Caring for Sublimation Mugs
Finished mugs can go in the dishwasher and hold up to regular daily use, but I usually handwash my favorites to keep the colors brightest for as long as possible. Avoiding abrasive scrubbers will help keep the glossy finish intact and the artwork looking fresh. Storing mugs away from direct sunlight also helps prevent fading over time.
Real-Life Uses and Ideas for Personalized Mugs
Sublimation mugs have made it easy for me to give eye catching custom gifts or offer personalized merchandise. Some ideas I’ve tried, include:
- Name mugs: Perfect for family members or coworkers. Adding a fun font or favorite color personalizes a mug instantly.
- Photo mugs: Great for special birthdays, anniversaries, or graduations. Family pets and travel photos are client favorites for me and always bring a smile.
- Business branding: Simple logo mugs are affordable to produce and add a professional touch to office settings and company swag bags.
- Seasonal and holiday designs: Valentine’s, Halloween, winter holidays, and teacher gifts; they never go out of style and are easy to customize for any occasion.
Frequently Asked Questions About Making Sublimation Mugs With Cricut
Question: Can I use any regular mug for sublimation?
Answer: Only sublimation coated mugs will work. The ink simply won’t stick properly to a noncoated mug, leading to dull or washed-out designs.
Question: Is the Cricut Mug Press really needed, or will a cheaper oven do?
Answer: A mug press is simpler for beginners and gives more reliable results. Some people use convection ovens, but it’s a bit harder to control temperature and pressure. I started with a Mug Press and found it much easier for learning the process.
Question: Does sublimation mug art fade with washing?
Answer: Designs stay vibrant for a long time because the ink fuses with the mug’s coating. I recommend handwashing to keep colors super bright, but most finished mugs hold up fine in the dishwasher, too.
Wrapping Up: Making the Most of Cricut and Sublimation Mugs
Making custom sublimation mugs with Cricut tools combines creativity, craft, and a bit of science. I found that with a few practice runs and the right supplies, anyone can create personalized mugs that look store bought. Each project helps me build confidence and gives me new ideas for future gifts, events, or even small business projects. The process is straightforward and gets even easier with repetition. Experiment with sizing, colors, and design styles; the results can be really rewarding once you see your finished mug fresh out of the press. With time, you’ll stumble upon favorite techniques and your own style of mug making!